- Launch your Internet browser software and open Coeus Lite.
- From the Coeus Home page, click the “My COI” tab to open the COI Home Page.
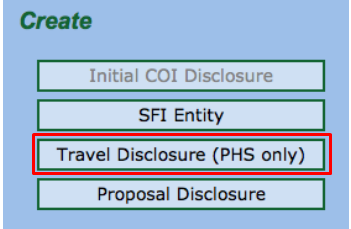
- Locate the Travel Disclosure (PHS only) box in the Create column on the left side of the screen.
Travel Details Screen
Travel disclosures must be made if travel is paid on your behalf (either directly or through reimbursement) by an organization other than MIT; US Federal, state or local government agencies; US Institutes of higher education; US Research institutes affiliated with Institutes of higher education; and, US Academic teaching hospitals and medical centers.
Travel paid by for-profit entities, foreign governments, universities and research institutes or non-profit organizations that are not U.S. institutes of higher education must be disclosed.
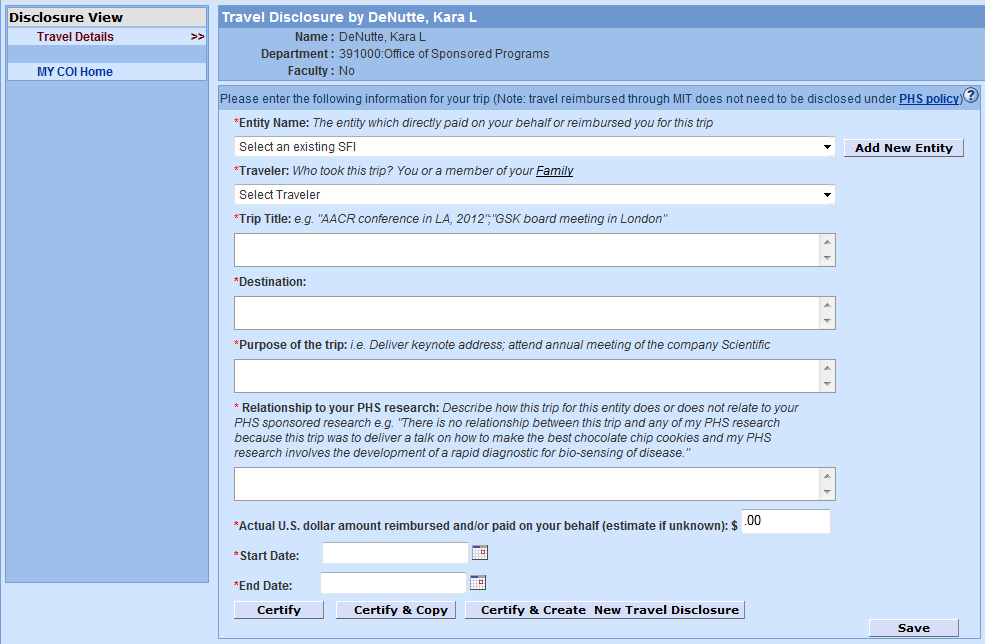
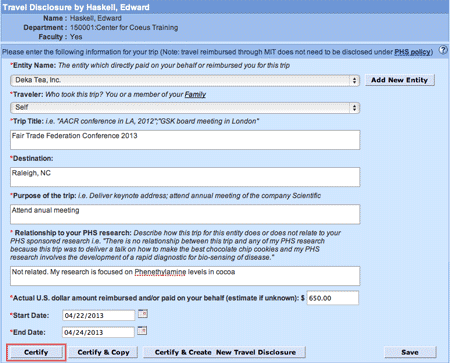
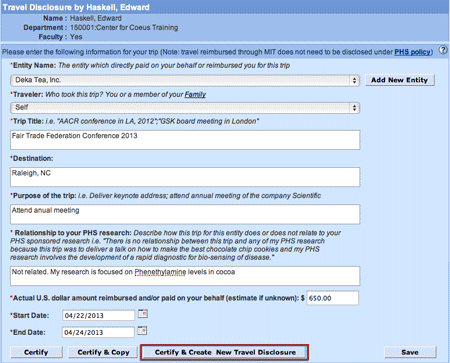
In the fields provided, enter the following:
- Entity Name – see detailed instructions below
- Traveler - Select “who took the trip” from the pull--‐down menu
- You
- Spouse/Domestic Partner
- Dependent Children
- Trip Title – Enter a descriptive tile to describe this disclosure
- Destination - Enter the City, State and Country (if foreign travel)
- Purpose of the Trip - Enter a detailed description (e.g., Deliver keynote address)
- Relationship to your PHS research - Enter a detailed description of how the trip for the entity does or does not relate to your PHS sponsored research
- Actual U.S. dollar amount reimbursed and/or paid on your behalf - Enter US dollar amount the Entity reimbursed and/or directly paid on your behalf for the trip (estimate if the amount is unknown)
- Start Date and End date -
- Enter Start Date in and mm/dd/yyyy format or click on the calendar icon to select the start date.
- Enter the End Date in mm/dd/yyyy format or click on the calendar icon to select the end date.
Entity Name
- Select the entity name from the Select an existing SFI pull-down menu

Or, if you have not previously entered SFI data for the entity in Coeus COI module click the Add New Entity button. The Add Significant Financial Interest screen will display

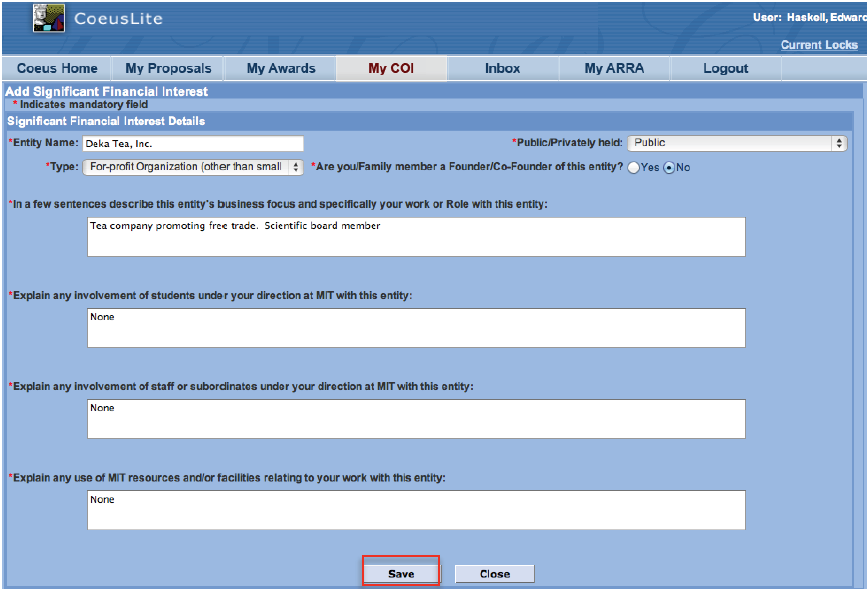
On the Add Significant Financial Interest screen, enter details for the Significant Financial Interest in required fields marked with a red * asterisk:
Entity Name – enter the full name of the domestic or foreign, public or private, organization (excluding MIT; US Federal, state or local government agencies; US Institutes of Higher Education; US Research Institutes affiliated with Institutes of Higher Education; and, US Academic Teaching Hospitals and Medical Centers) that directly paid for or reimbursed you, your spouse or dependent children for the trip.
Publicly/Privately held – select from the menu to indicate if the entity is publicly held (shares/stock are publicly traded) or Privately held (no shares are publicly traded).
Type – Select from the menu (i.e., For-profit Organization, Federal Government, Small business).
Are you/Family member a Founder/Co-Founder of this entity? – Select the Yes or No radio button.
In a few sentences briefly describe the entity’s area of business focus and specifically your work or Role with the entity: – enter a detailed description of the business and your involvement.
Explain any involvement of students under your direction at MIT with this entity: – enter a detailed description.
Explain any involvement of staff or subordinates under your direction at MIT with this entity: – enter a detailed description.
Explain any use of MIT resources and/or facilities relating to your work with this entity: – enter a detailed description.
Click the Save button.
Note: Once created, an SFI Entity will remain as part of your Master Disclosure permanently. SFIs may be marked "Inactive" by clicking on the SFI Entity (make Inactive) button under the View/Print heading of the My COI screen, but SFI Entities can never be deleted and remain part of the historical record.
Certify, Certify & Copy, Certify & Create New Travel Disclosure
When you have completed a Travel Disclosure, click on the appropriate button at the bottom of the screen.
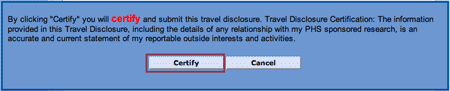
- Click the Certify button to certify that the information provided in the travel disclosure is accurate and submit for review.
You will see the pop-up window displayed below. Review the certification statement then click the Certify button. If you need to make modifications, click the Cancel button and you will return to the travel disclosure screen.
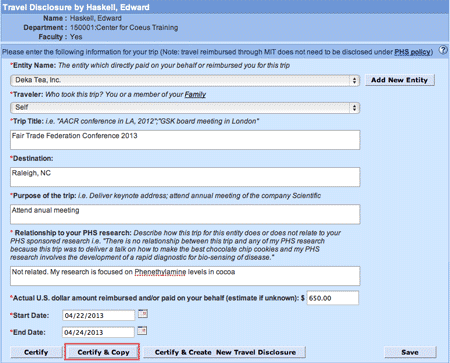
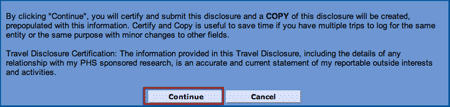
Click the Certify & Copy button to certify that the information provided in the travel disclosure is accurate and submit for review, and also create a copy or clone of the travel disclosure prepopulated with information from the original travel disclosure. You may use this to save time if you have multiple trips to disclose for the same Entity.
You will see the pop-up window displayed below. Review the certification statement then click the Continue button. If you need to make modifications, click the Cancel button and you will return to the travel disclosure screen.
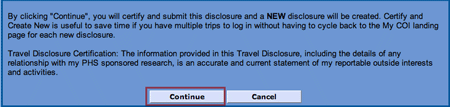
Click the Certify & Create New Travel Disclosure button to certify that the information provided in the travel disclosure is accurate and submit for review, and also create a new, blank travel disclosure
You will see the pop-up window displayed below. Review the certification statement then click the Continue button. If you need to make modifications, click the Cancel button and you will return to the travel disclosure screen.
Click the Save button to exit the travel disclosure and complete later for certification and review. When prompted by the pop-up window below, click the Continue button and you will return to the My COI screen (Note: there is no Cancel button when saving). The Travel Disclosure will be saved to the Revise section of My COI.

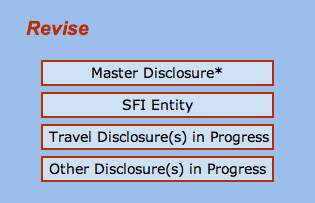
To access the saved Travel Disclosure for modification and to certify for review, return to the My COI screen and click the Travel Disclosure(s) in Progress button under the Revise heading. Select the saved travel disclosure from the Edit section.